

How To Set Up Laragon for your Local Software Development on Windows
Simplifying development experience for windows users


Having demonstrated to you how powerful Laragon is as a local development server as covered in my last article (If you missed it, kindly spare 4 minutes to read it here: - The Benefits of Migrating Your Local Development to Laragon (Windows Users), it is now time to take you through the process of setting up Laragon your local machine.
Before we start, kindly recall that - Laragon is a portable yet powerful, universal development environment for Apache, Nginx, MariaDB, PHP, Node.js, Python, Go, Redis, Memcached and other frameworks and programming languages (for windows machines).
Now let’s begin. I will take through the installation and set-up process in steps as follows:
Step I – Downloading Laragon
Let’s head on to Laragon’s website (https://www.laragon.org) to download the application setup.
Alternatively, kindly click on this link for direct download - (https://www.laragon.org/downloads)
When the download is complete, go to your downloads or download location and you will see the Laragon file.

SETP II: Installation
Double-click on the icon above and this dialogue box will appear.

Click on run and follow the instructions prompts while maintaining the default settings.
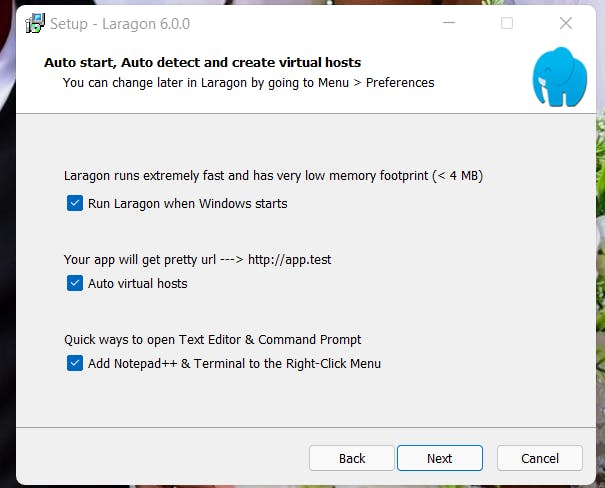
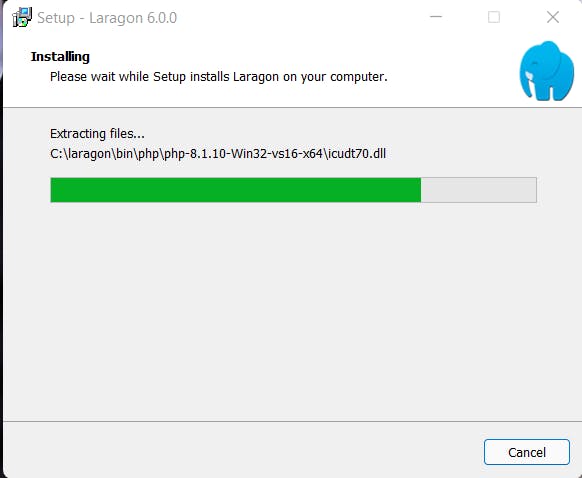
Continue clicking next and wait for the installation to complete.
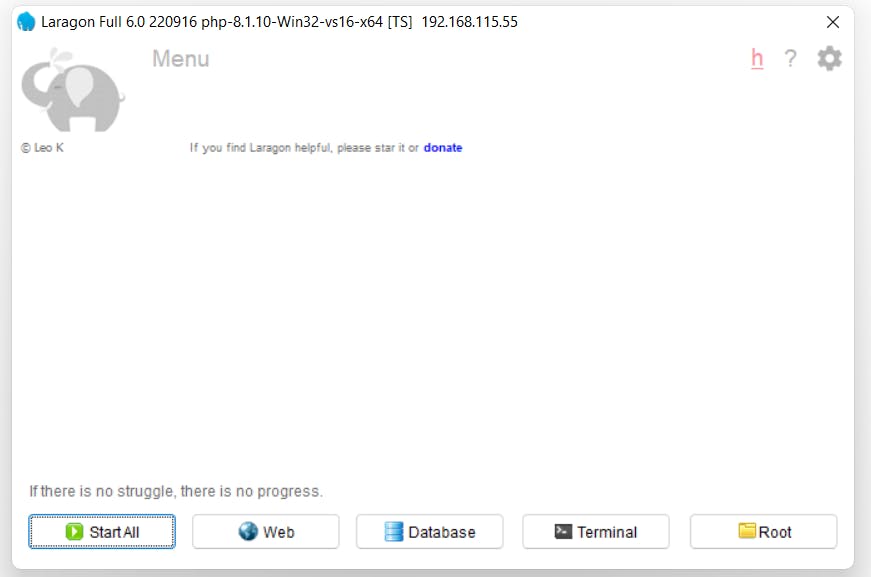
Once this is completed, Laragon will automatically run, and display as shown in the screenshot below:
Step III – Start your server
To start the Server, click on the start button, you will see a pop-up, Apache will ask for root privileges from your system firewall as shown below.
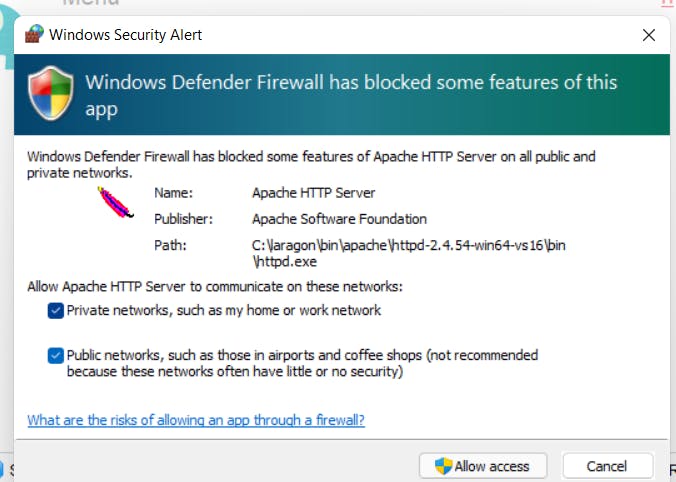
Kindly click on Allow access and you are good to go.
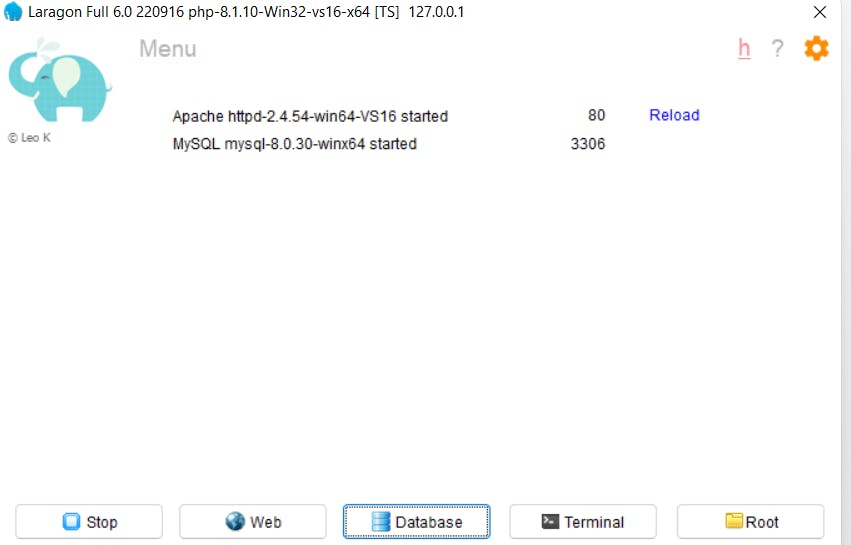
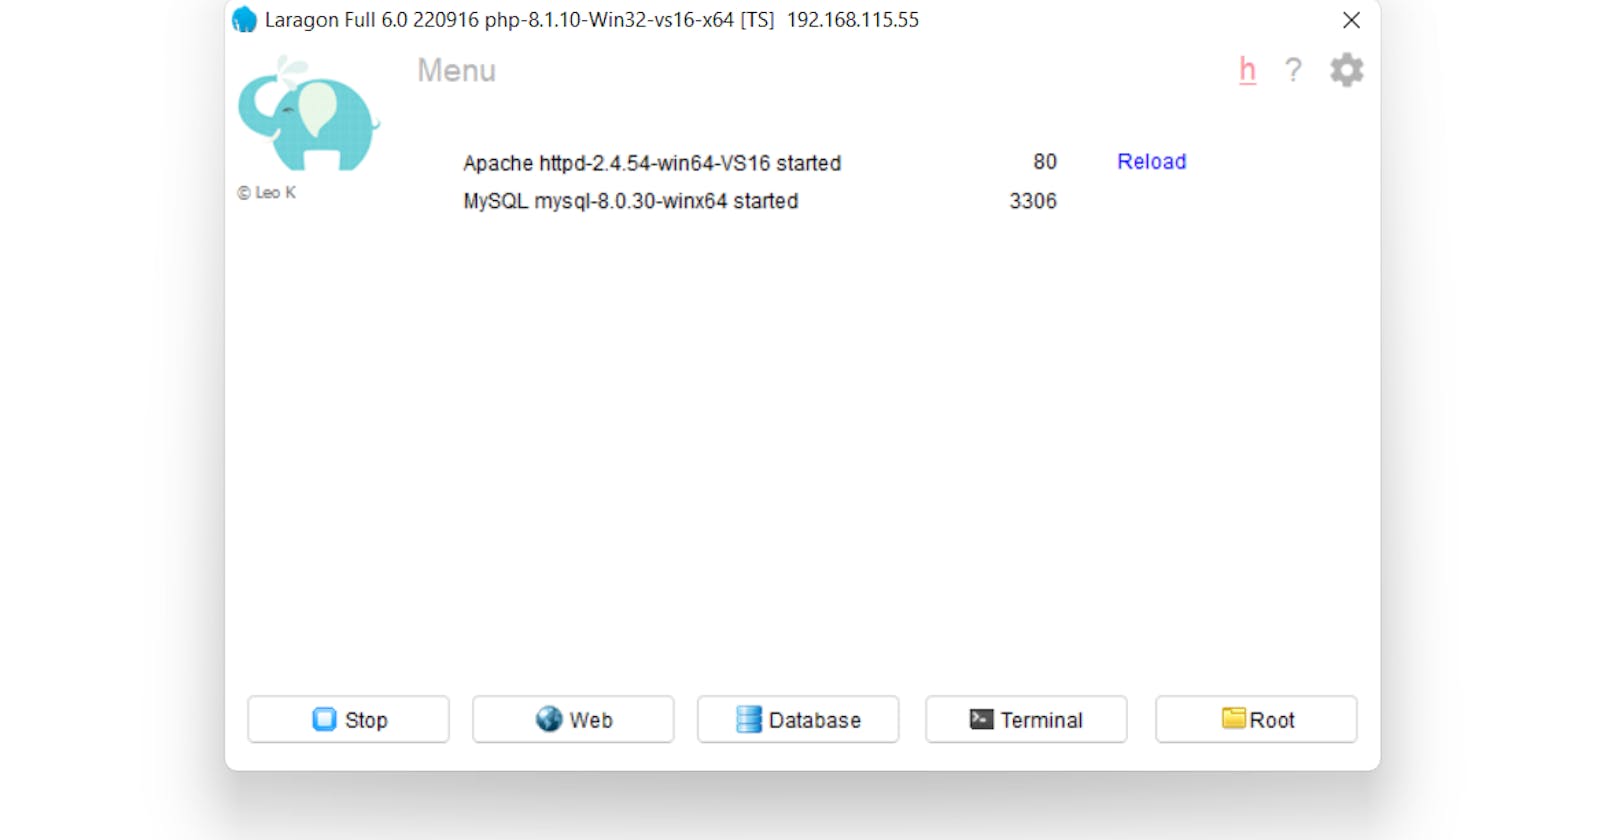
Congratulations! Laragon is now installed on your system and running as shown above.
This is how easy it is to download and install Laragon on our machine.
As you can see, Apache and MySQL run on default ports of 80 and 3306 respectively.
These ports are immediately configurable if they are in use by another application.
Now you are ready to create your WordPress, Laravel, Django etc. applications locally using Laragon.
BONUS!
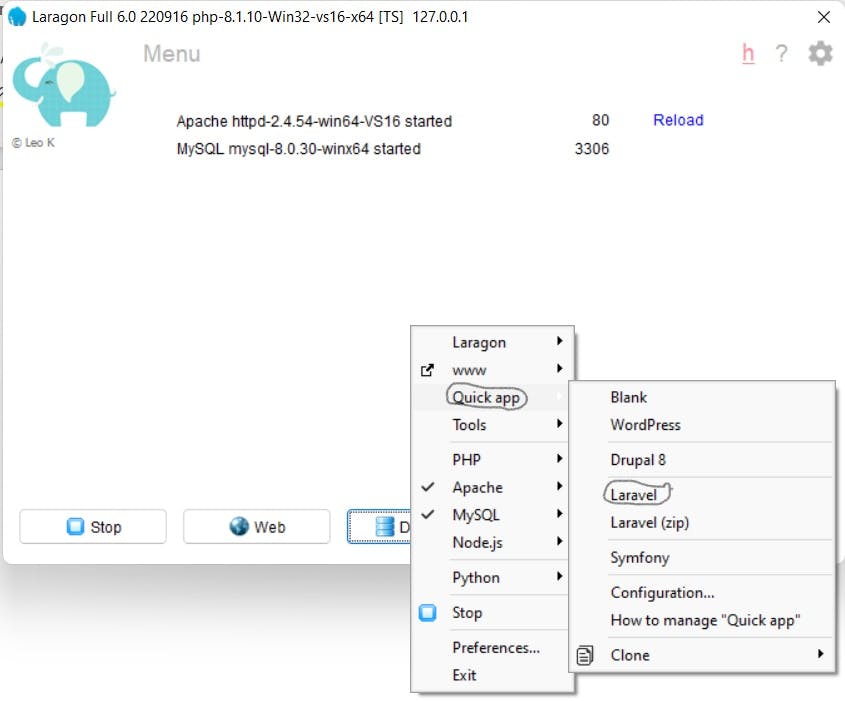
To wrap up the setup, let us quickly create a new Laravel application from the Laragon GUI.
Starting a new Laravel project with Laragon.
Simply right-click on the running application and choose Quick app, then Laravel
Enter the project name – (I am choosing jumafia. You can choose the same or any other name) and click OK. (Please ensure that you are connected to a stable internet before clicking OK).
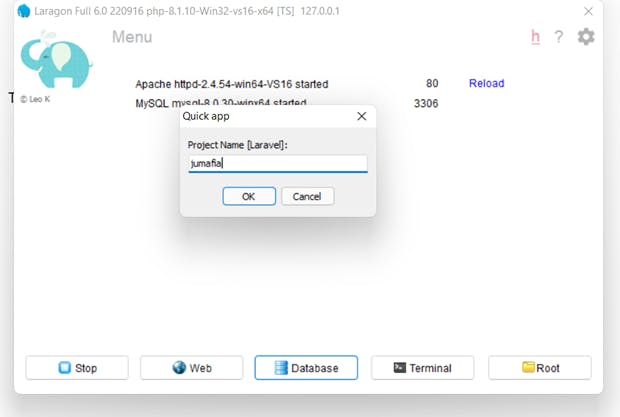
Internet access is needed for the first time you are creating a particular app that needs to be downloaded from the web.
Please note that by default, Laragon will always download the latest version of Laravel.
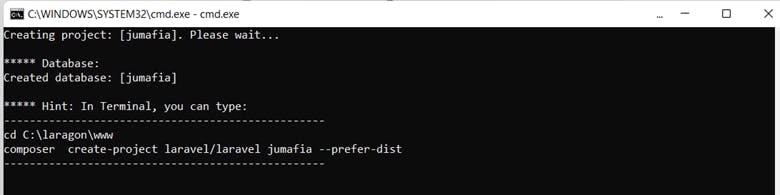
After clicking on OK, the following happens behind the scenes:
1.Laragon will automatically open a terminal, create a database using the same name as your project (jumafia) in MySql.
2. Laragon will change directory into the www folder of Laragon in any location you installed it. ( in my case, C:\laragon\www ) create a laragon project there.
As shown in the terminal below,
Laragon will automatically type:
composer create-project laravel/laravel jumafia –prefer-dist in your terminal for you.
This command will download and install the Latest version of Laravel on your machine.
All you need to do is to relax, grab a cup of popcorn and throw a pop into your mouth one after the other until your download is complete.
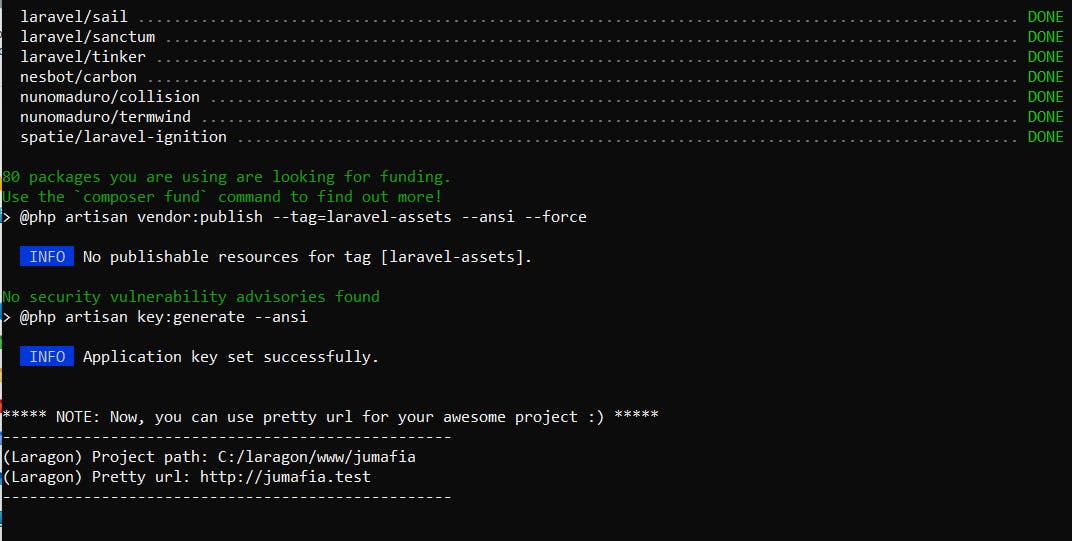
Once your download is complete, you can press and hold on control key and click on the link http://jumafia.test for the terminal and this will open the application your default browser.
Alternatively, you can right-click on the Laragon GUI, choose www, then select jumafia (the project you just created) and it will also open in the browser.
Or lastly, you can simply open any browser on your machine and type in http://jumafia.test and your application will be up and running.
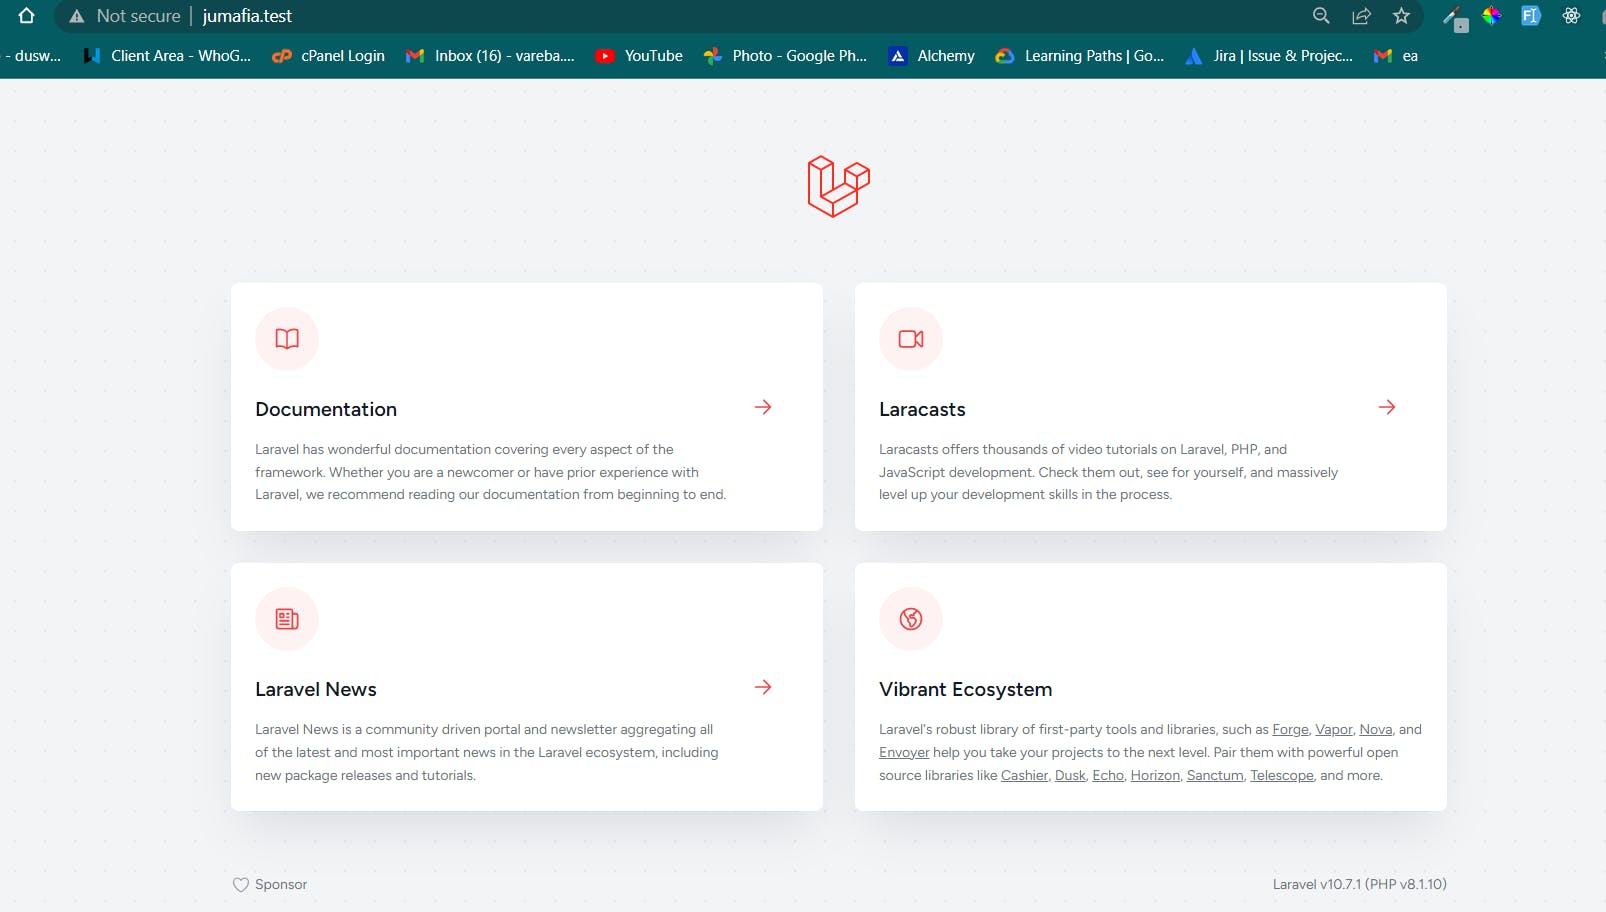
Hurray! Our site is up and running.
In our next article, I will walk us through the process of setting up a WordPress site using Laragon so that we can appreciate the beauty of using Laragon for local development.
Thank you for reading.